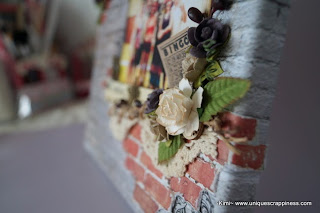
Hello again readers, today I would like to share with you all my "Family" art canvas. This canvas measures 18cm x 24cm or approximately 7" x 9" and was just the right size for what I had in mind. I have used my last sheet of Kaisercraft Base Coat - "Bricks" papers from my kit. I took a deep breath and cut the paper to 8"x10" . I allowed a little extra so that I could wrap it over the sides of the canvas. I always find that first cut the hardest....once you make it, there is no going back.
I adhered it all down with mod podged and then left it to dry thoroughly.
Whilst it was drying I began to gather some the elements that I wanted to use. I used the reverse side of the "Bricks" paper and just played around with the placement of all the different layers. When I was happy with the placement I quickly took a photo - so I didn't forget !! I have a shocking memory!!
I then fussy cut the brick paper and distressed the edges with my scissors. However, I wanted more texture than what the distressing was giving me, so with my finger I began dabbing coarse texture paste to the edges...now that was more like it!! I really wanted the edges to look and feel like mortar!!.
With the texture paste leftover I added some more paste to the canvas. I also splattered and spritzed a little of my glimmer sprays to the canvas. I wanted to grunge the wall up and give it a "dirty" look - in a shimmery, glimmery kind of way!
I got to thinking walls - graffiti! I wanted the wall to have a bit of graffiti on it so I
added some Kasiercraft and Tim Holtz Idea-ology Remnant Rubs rub-ons to the background.
I was now ready to add my photo and elements. So, referring to my pic I began the layering and gluing process...
I created the little bingo card from the Tim Holtz Idea-ology Remnant Rubs rubons and the American Craft - Dark Kraft cardstock from my kit. I have added a Brown string twine twist leftover from last weeks wall hanging.
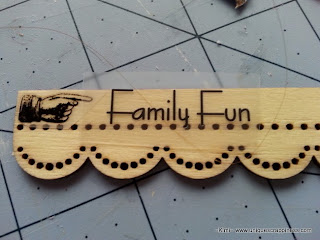
Here I have added some rubon's to the Prima wood icons.
I love these flowers from Prima Mini sachet - Bluejay flowers!!
Leaves, Metal charms, vine and crocheted doily are from my stash.


